

The Royal EMA Wave Strategy: (Thread)
Best part about this strategy is that it follows K.I.S.S.
(Keep It Simple Stupid)
Best part about this strategy is that it follows K.I.S.S.
(Keep It Simple Stupid)
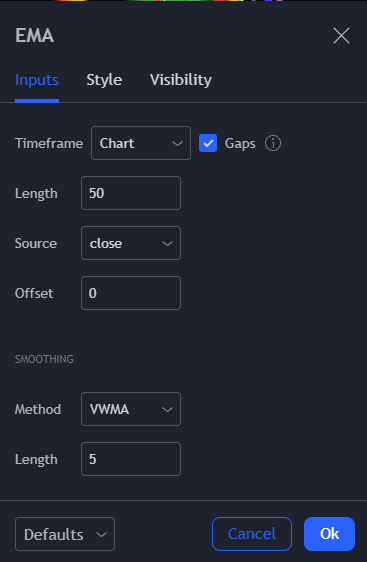
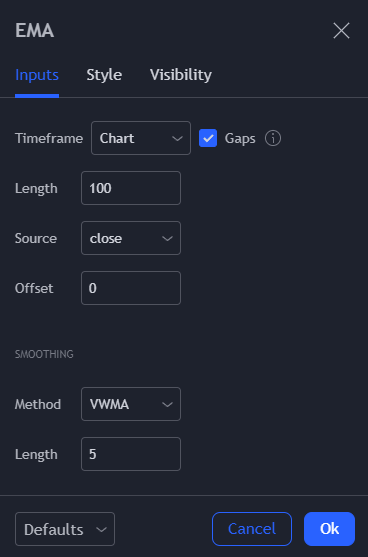
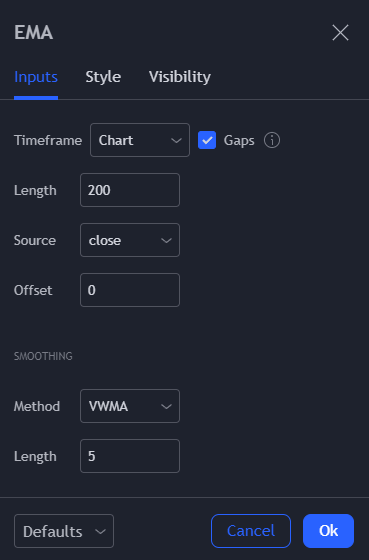
The 4 EMAs we will be using are:
- 11 EMA with VWMA 5 Smoothing
- 50 EMA with VWMA 5 Smoothing
- 100 EMA with VWMA 5 Smoothing
- 200 EMA with VWMA 5 Smoothing
- 11 EMA with VWMA 5 Smoothing
- 50 EMA with VWMA 5 Smoothing
- 100 EMA with VWMA 5 Smoothing
- 200 EMA with VWMA 5 Smoothing

POINT OF IMPORTANCE!!!
Without levels on a chart, this strategy does not work. This is a confirmation strategy and a strategy to help you not feel like you are chasing a play, but you need bounce and rejection levels to use it.
Without levels on a chart, this strategy does not work. This is a confirmation strategy and a strategy to help you not feel like you are chasing a play, but you need bounce and rejection levels to use it.
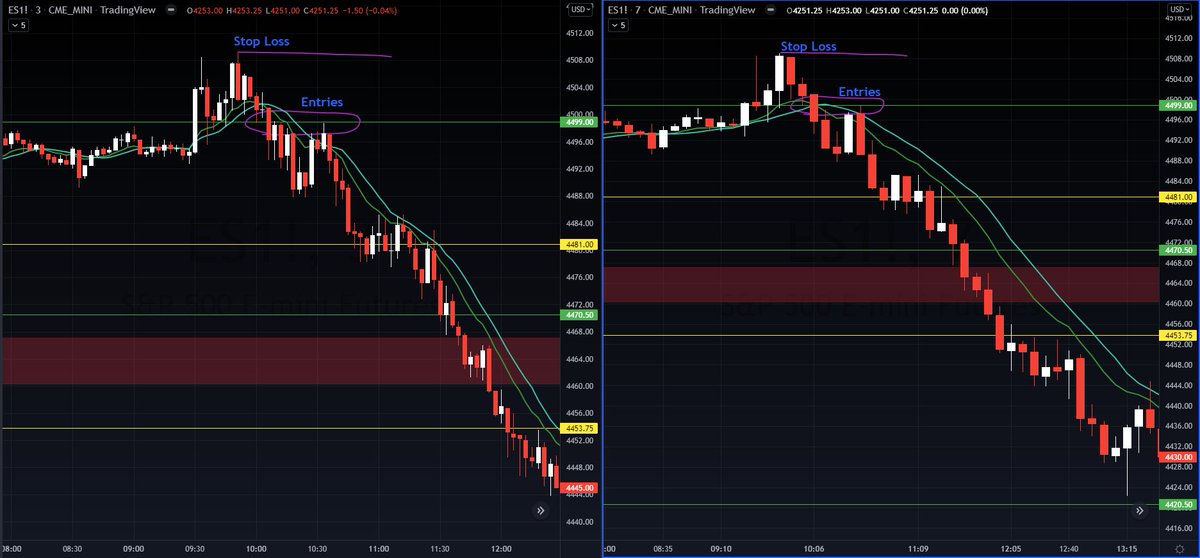
Example #1 gives us 2 possible entries for shorts:
Entry is found on the 3min chart when the 11 EMA (dark green) crosses its Smoothing Line (light green) recently before or slightly after a rejection of a level
Entry is found on the 3min chart when the 11 EMA (dark green) crosses its Smoothing Line (light green) recently before or slightly after a rejection of a level
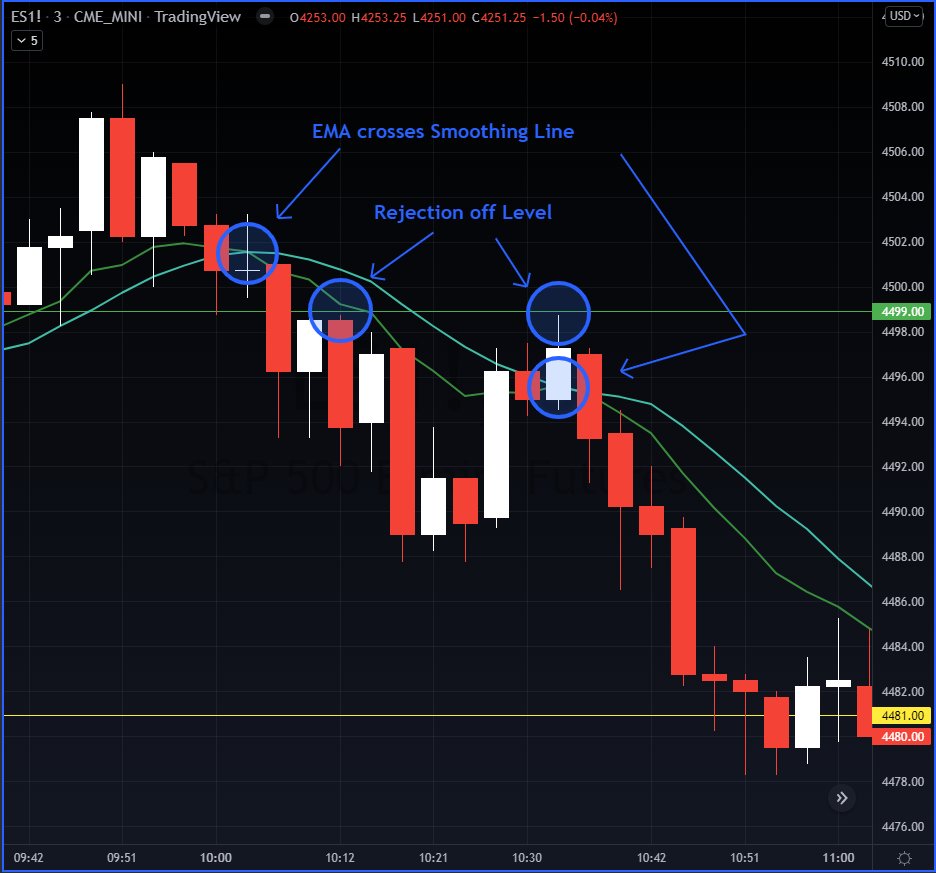
Continuing with Example #1:
- Until you get under the 11 EMA on the 7min chart, you will use the previous high before your entry as your SL.
- Once you are under the 11 EMA on the 7min chart, you stay in the play until a confirmed close above the 11 EMA on the 7min chart
- Until you get under the 11 EMA on the 7min chart, you will use the previous high before your entry as your SL.
- Once you are under the 11 EMA on the 7min chart, you stay in the play until a confirmed close above the 11 EMA on the 7min chart
Continuing with Example #1:
- Once your 7min chart does close above the 11 EMA, you will trim 10% of the position, not close completely, unless you are not yet below the 50 EMA. If above 50 EMA, close completely
- Once below the 50 EMA, a close above on the 7min is your exit
- Once your 7min chart does close above the 11 EMA, you will trim 10% of the position, not close completely, unless you are not yet below the 50 EMA. If above 50 EMA, close completely
- Once below the 50 EMA, a close above on the 7min is your exit
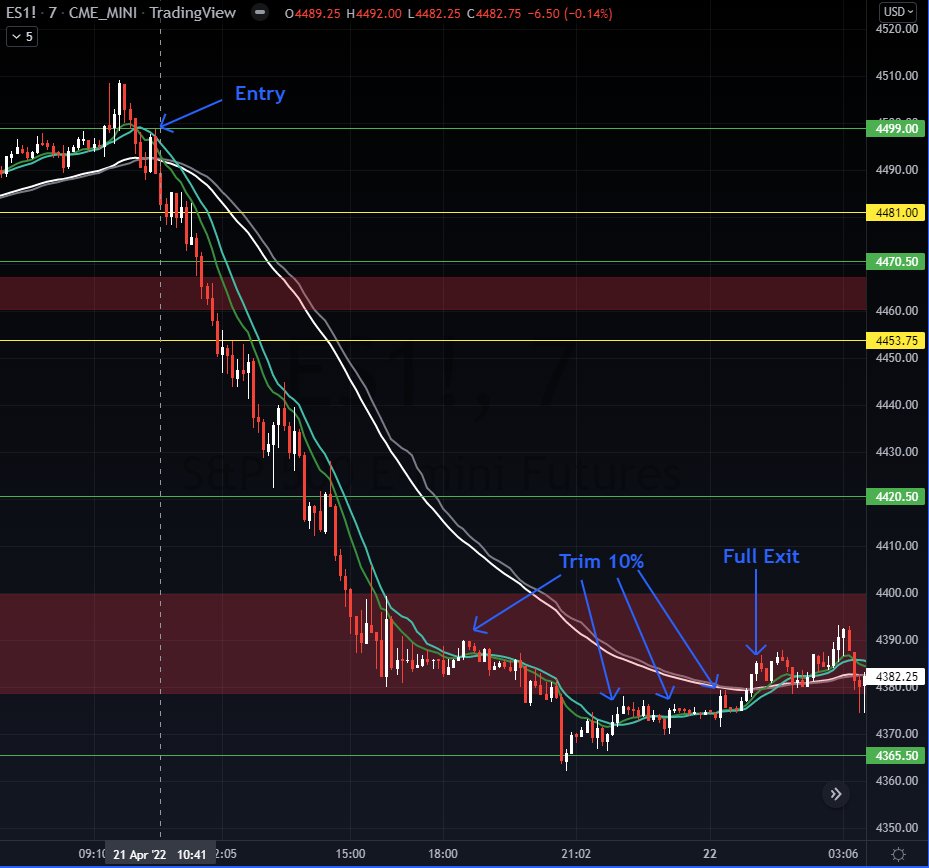
Contingency Rules #1:
- The 50 EMA on the 7min is not a full exit IF we are below the 100 EMA
- If we are below the 100 EMA but NOT the 200EMA, the 50 EMA is a 50% exit and the 100 EMA is a full exit
- The 50 EMA on the 7min is not a full exit IF we are below the 100 EMA
- If we are below the 100 EMA but NOT the 200EMA, the 50 EMA is a 50% exit and the 100 EMA is a full exit
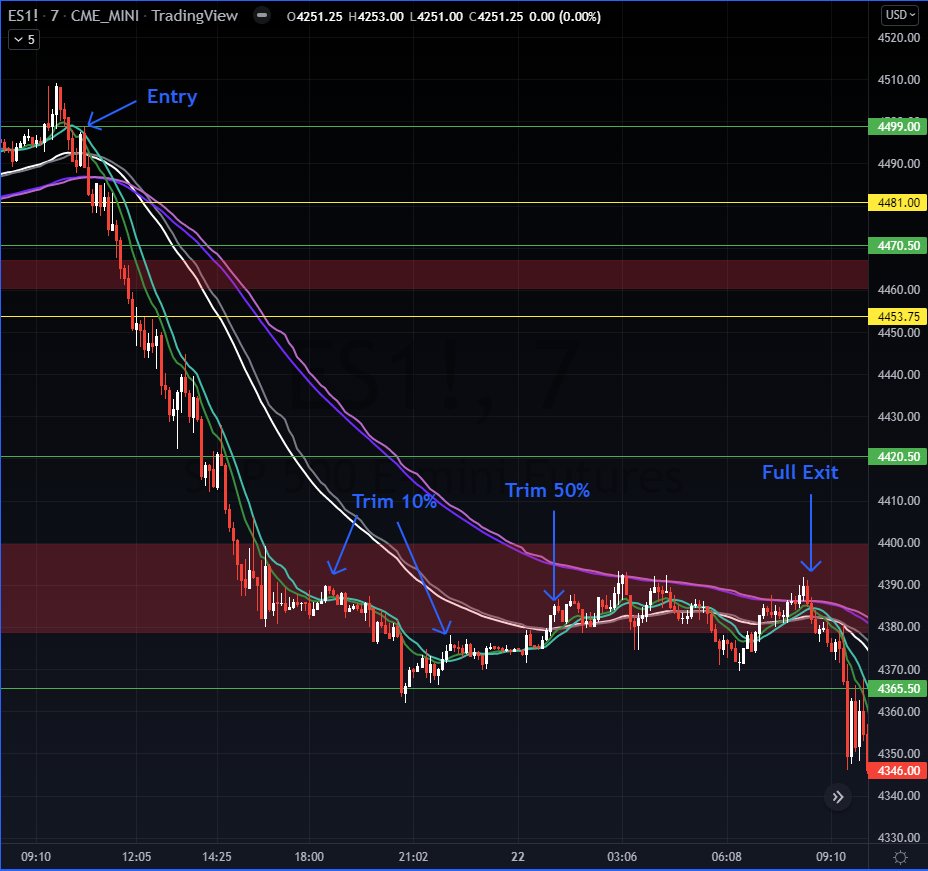
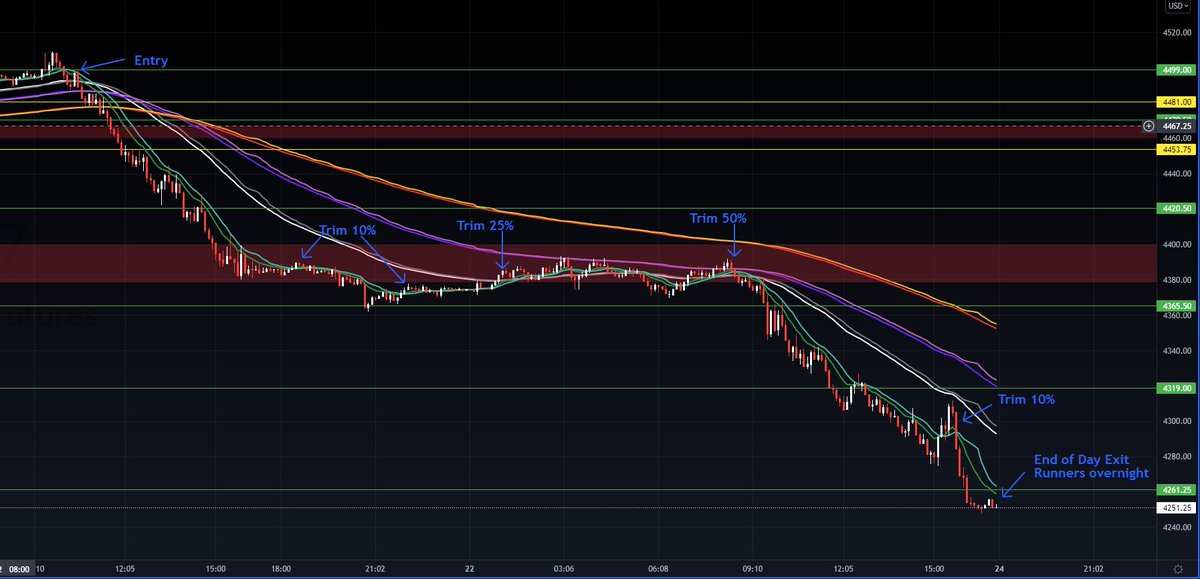
Contingency Rules #2:
- The 100 EMA on the 7min is not a full exit IF we are below the 200 EMA
- If we are below the 200 EMA, the 50 EMA is a 25% exit, the 100 EMA is a 50% exit, and the 200 EMA is a full exit
- Example #1 never hit 200 EMA, so we close @ EOD and leave runners
- The 100 EMA on the 7min is not a full exit IF we are below the 200 EMA
- If we are below the 200 EMA, the 50 EMA is a 25% exit, the 100 EMA is a 50% exit, and the 200 EMA is a full exit
- Example #1 never hit 200 EMA, so we close @ EOD and leave runners
If you have any questions, please DM me
Loading suggestions...