

🧵for students and interns on some technical pointers regarding the clamping and ligating of tissues during surgical cases.
(1/ )
(1/ )
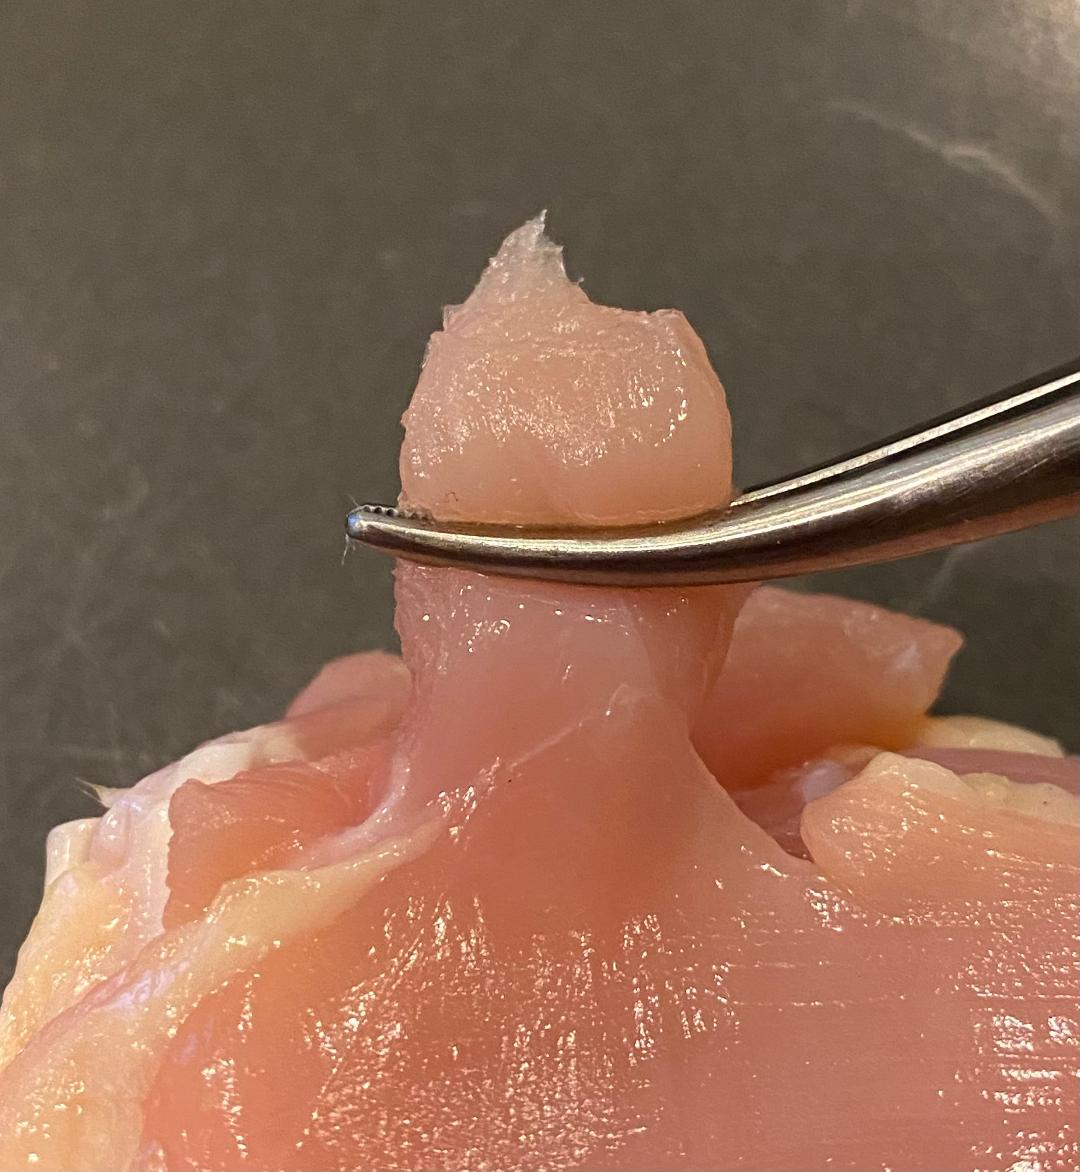
Let's start with a simple wad of tissue that is to be grabbed and tied off.
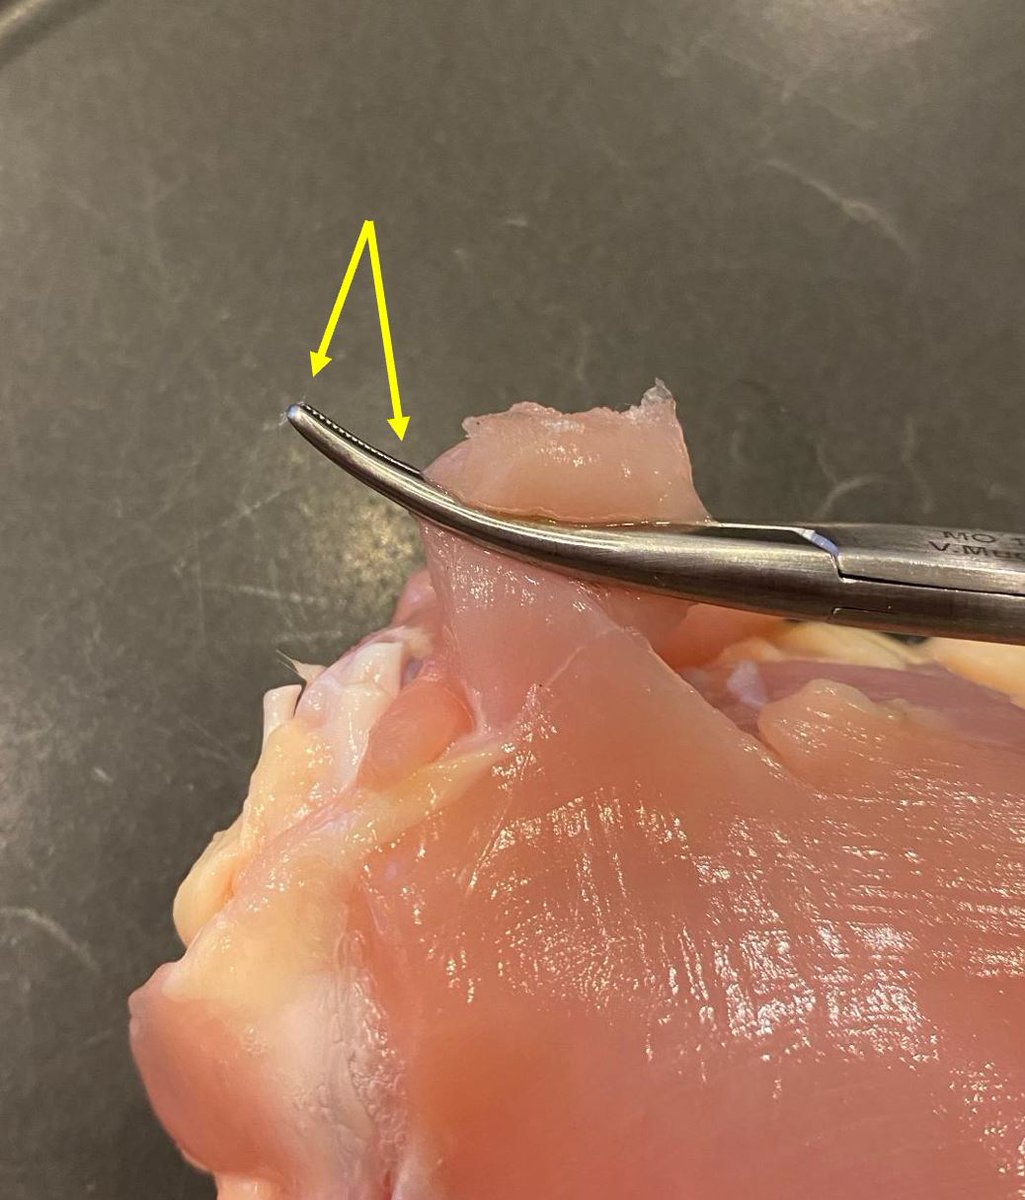
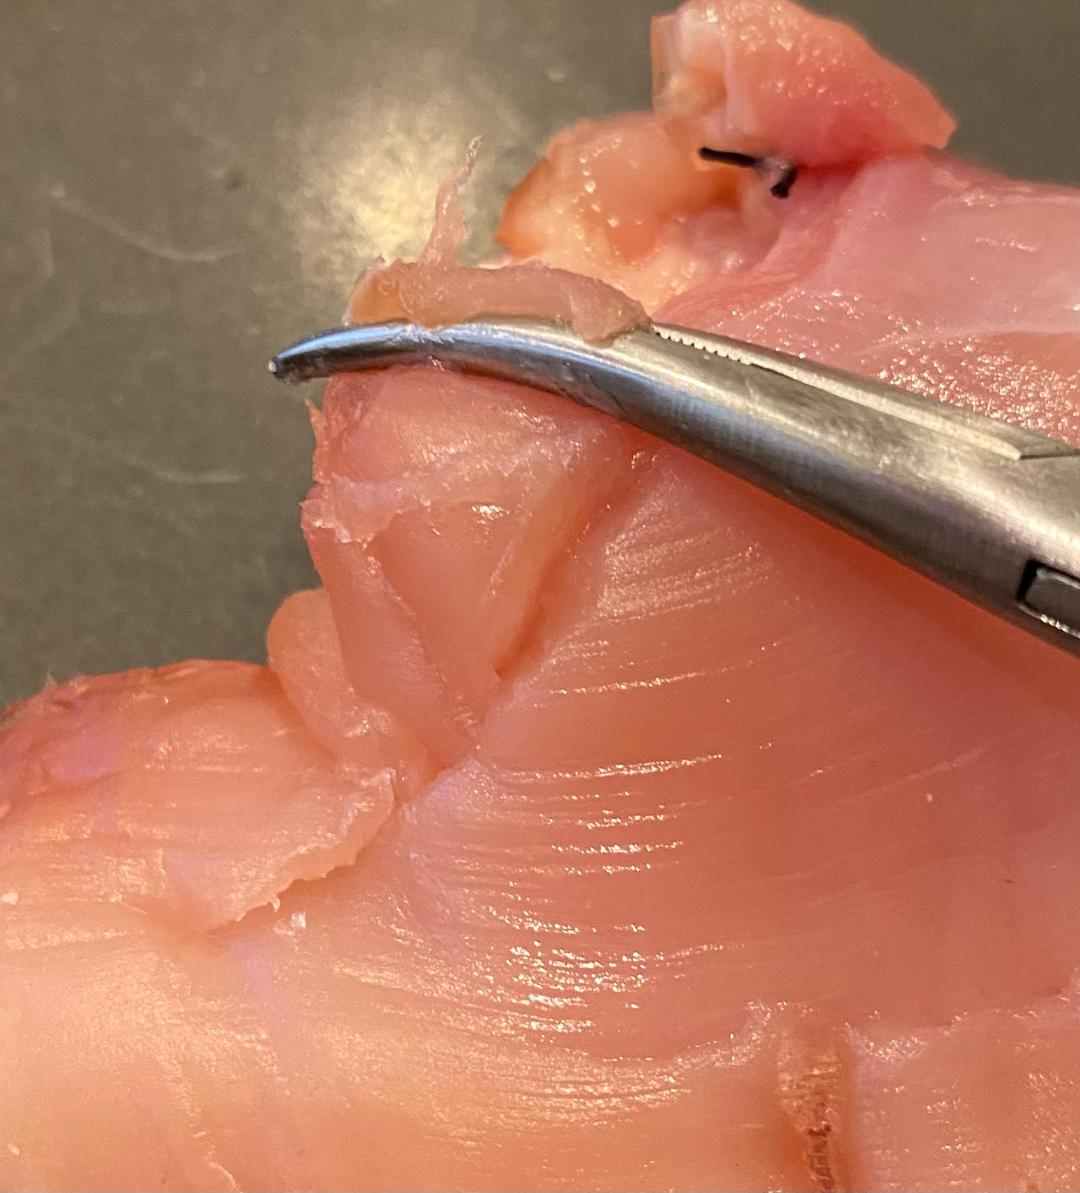
This is an example of good clamp position. You want the tips of the clamp to protrude past the tissue by a little bit, but not too much.
This is an example of good clamp position. You want the tips of the clamp to protrude past the tissue by a little bit, but not too much.
Why is this position good?
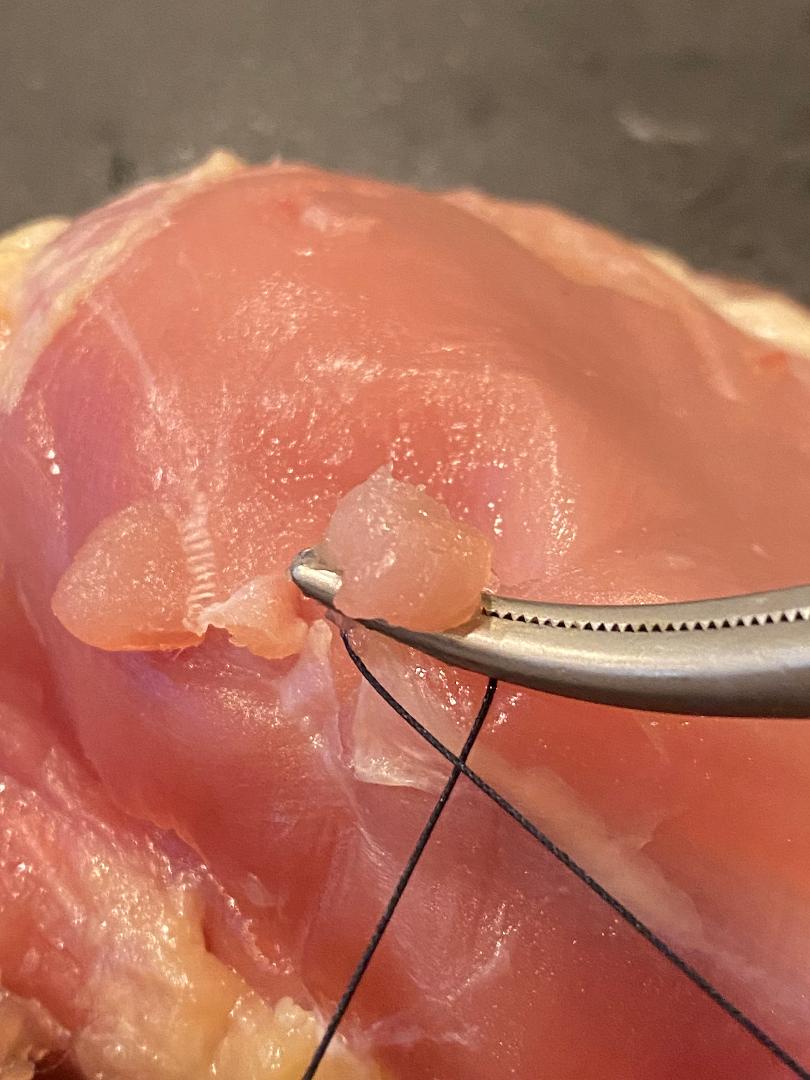
Because when the tip protrudes past the tissue a little bit, it's easy to hook the suture thread around it so that you can tie it off in the desired position.
Because when the tip protrudes past the tissue a little bit, it's easy to hook the suture thread around it so that you can tie it off in the desired position.
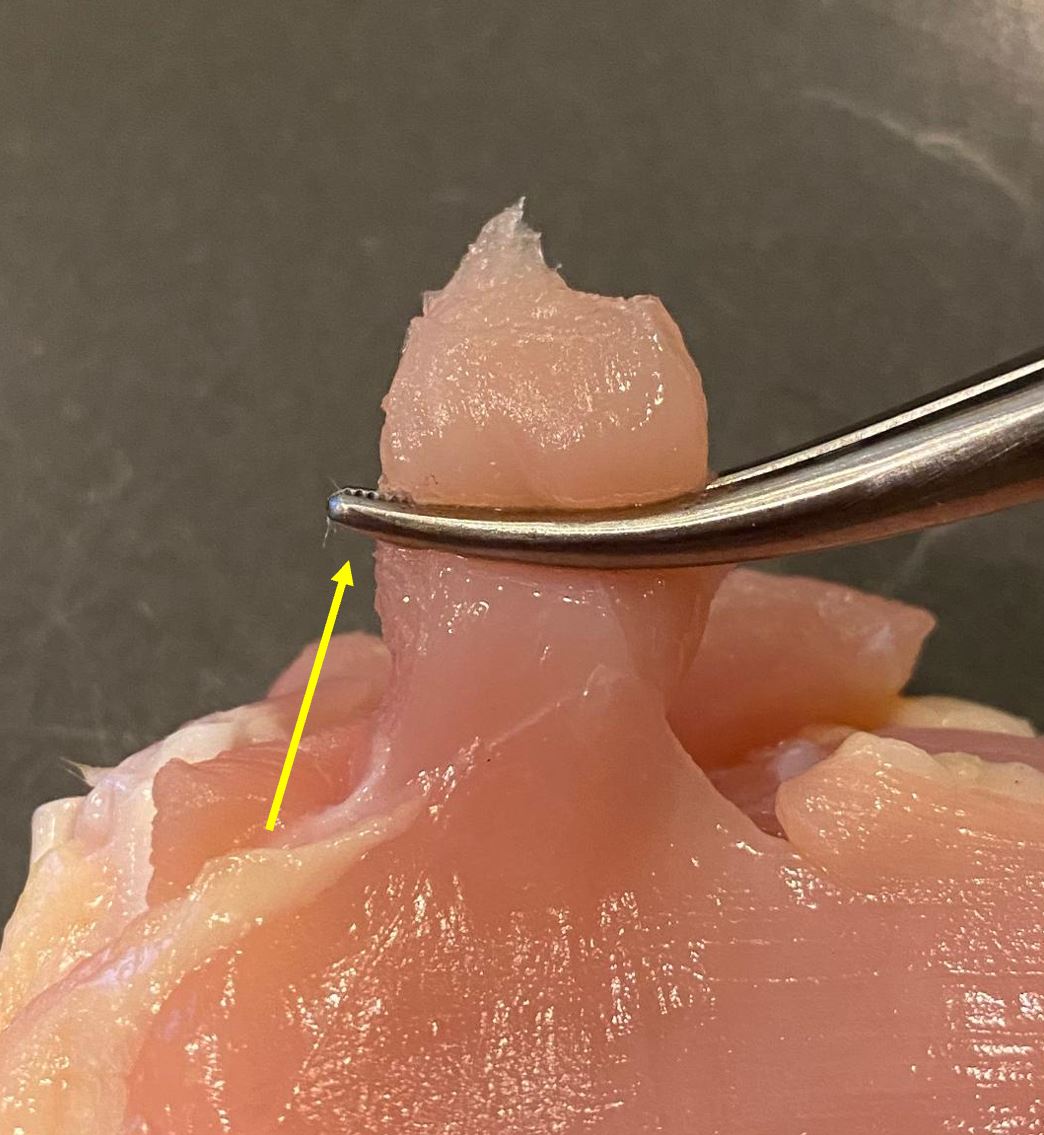
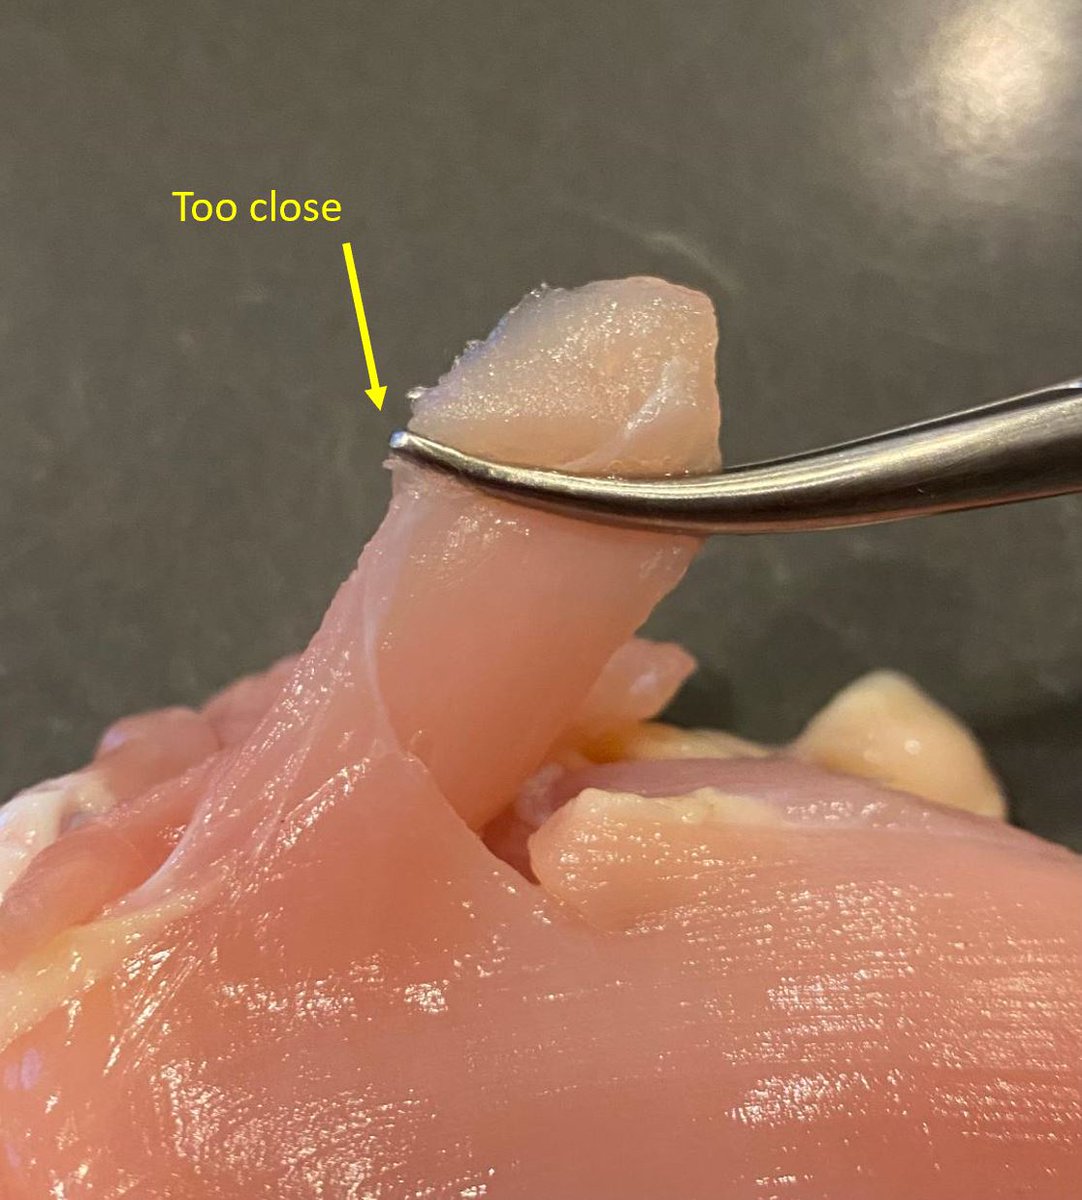
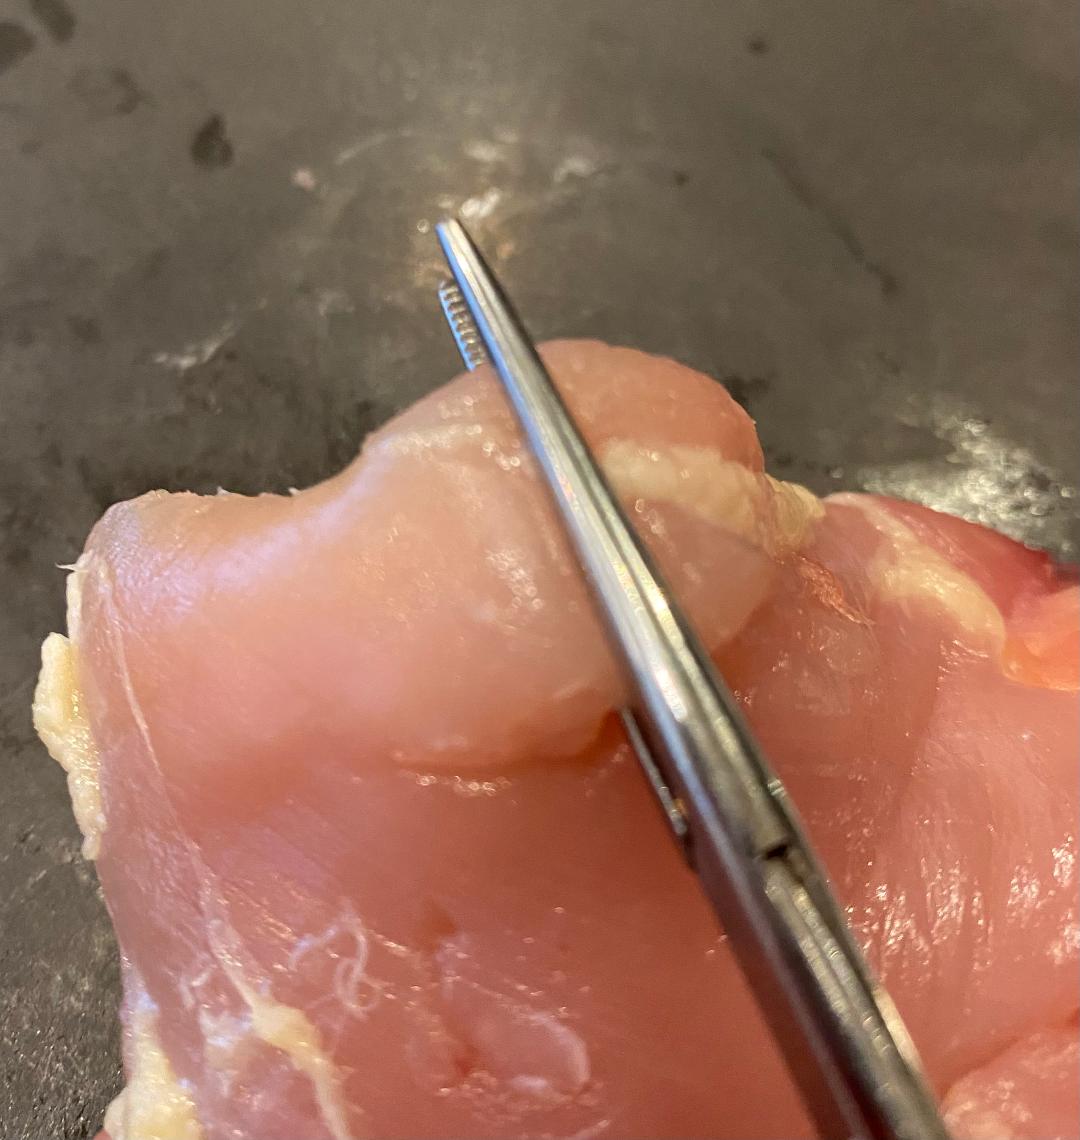
On the other hand, this clamp is not in good position. The tips are too close to the tissue itself.
When you go and try to get the suture around the clamp, it will not want to stay in position because it will want to slide right past the clamp.
When you go and try to get the suture around the clamp, it will not want to stay in position because it will want to slide right past the clamp.
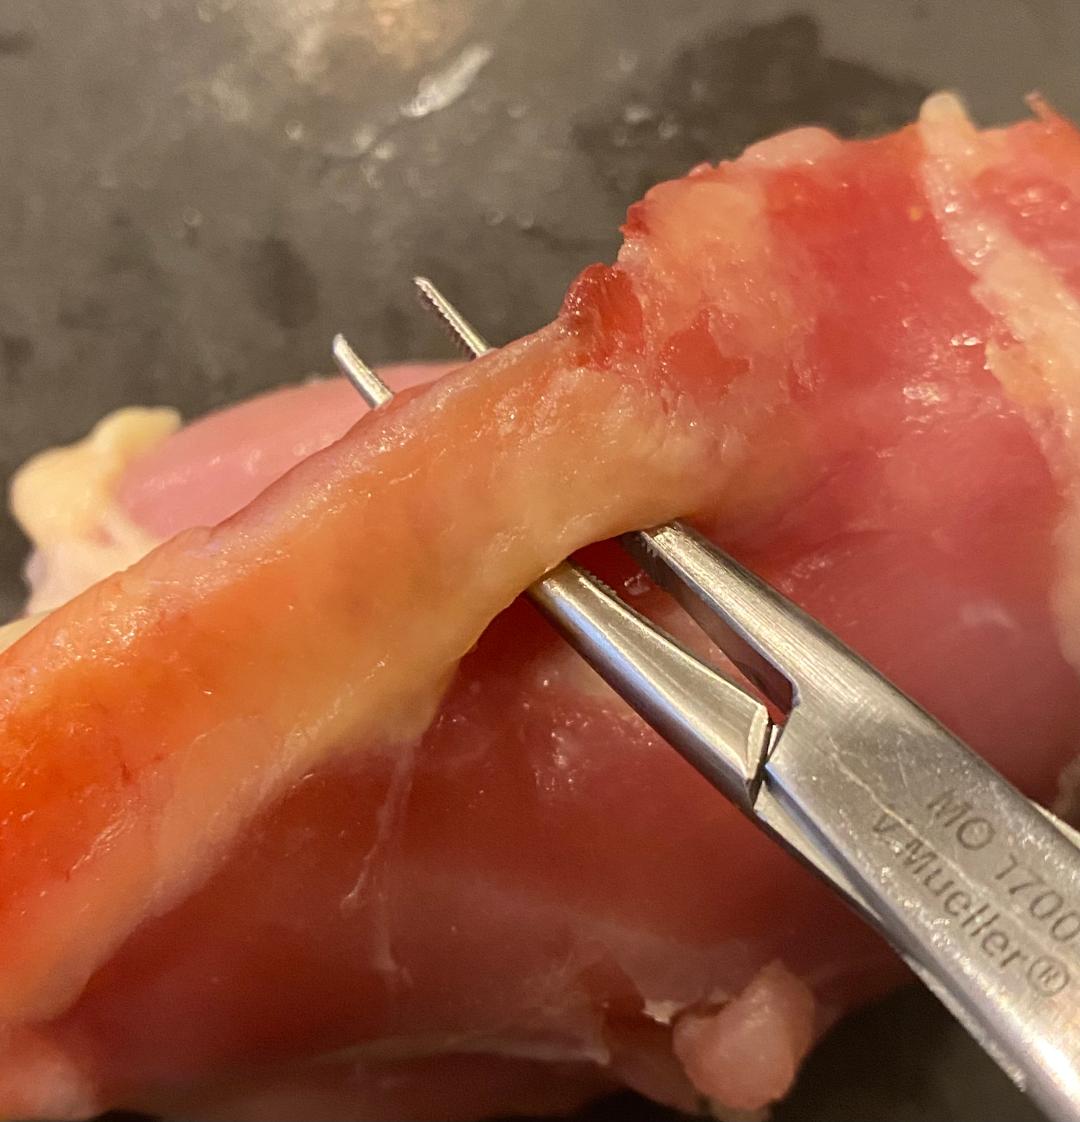
This clamp is also not optimally placed. Granted...it's tolerable most of the time.
But the tips protrude past the tissue unnecessarily far.
The clamp will be more likely to get in the way and be bothersome. Overall, it displeases the eyes and just kind of looks sloppy.
But the tips protrude past the tissue unnecessarily far.
The clamp will be more likely to get in the way and be bothersome. Overall, it displeases the eyes and just kind of looks sloppy.
For the remainder of the 🧵, let us switch to the situation where there is a piece of tissue that need to be clamped, divided, and tied off with suture.
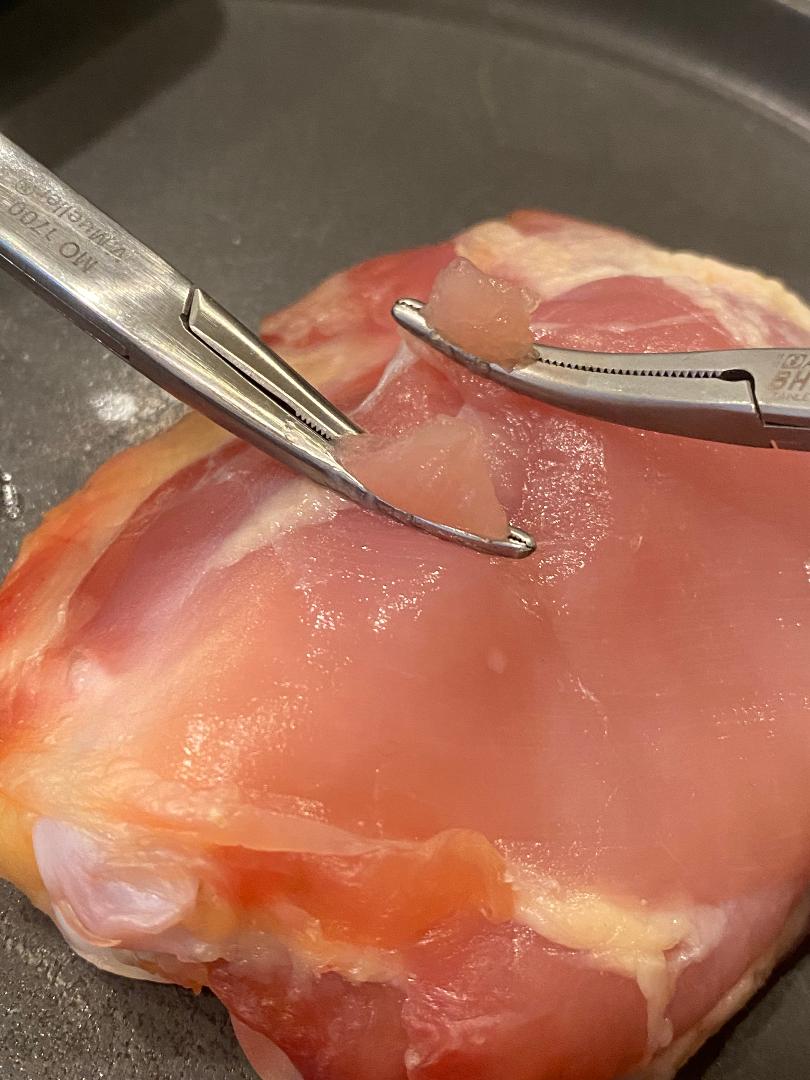
Here the surgeon is 'presenting' a bit of tissue that needs to be divided and tied off (ie too much for just the Bovie).
Here the surgeon is 'presenting' a bit of tissue that needs to be divided and tied off (ie too much for just the Bovie).

Generally, it is preferable to have the tips of the 2 clamps facing *toward* each other.
This is particularly easy if, as is common in teaching cases, one is applied from each side of the table.
This is particularly easy if, as is common in teaching cases, one is applied from each side of the table.
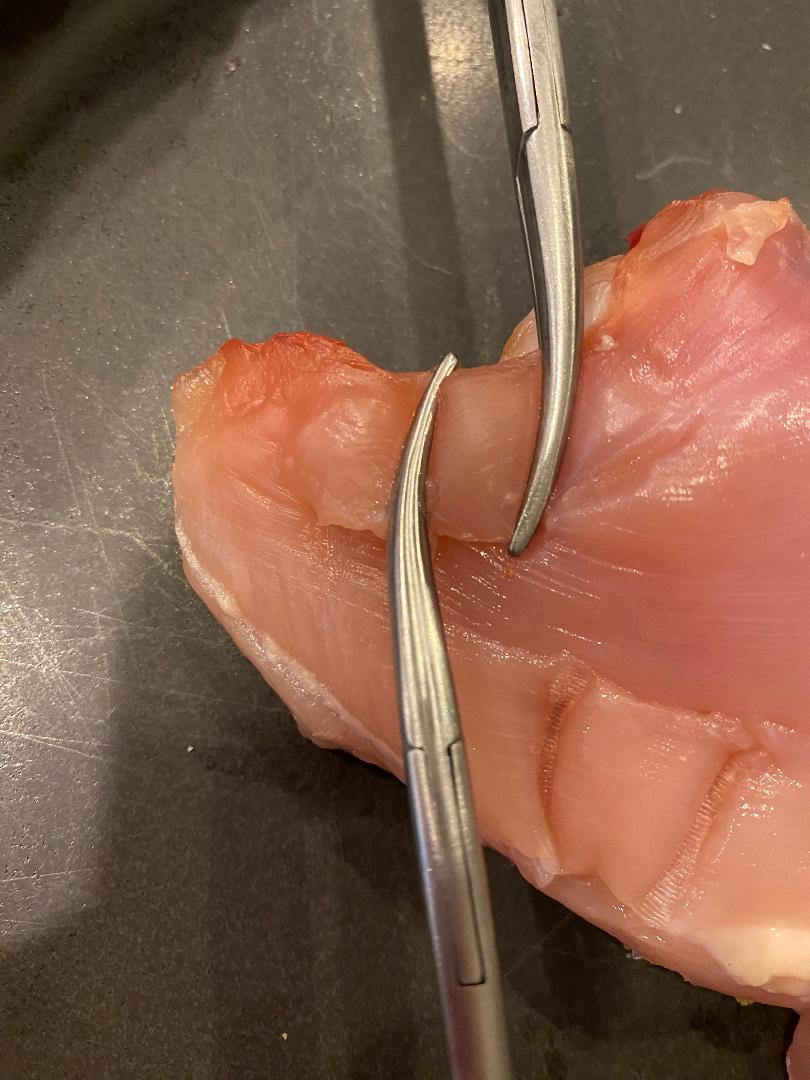
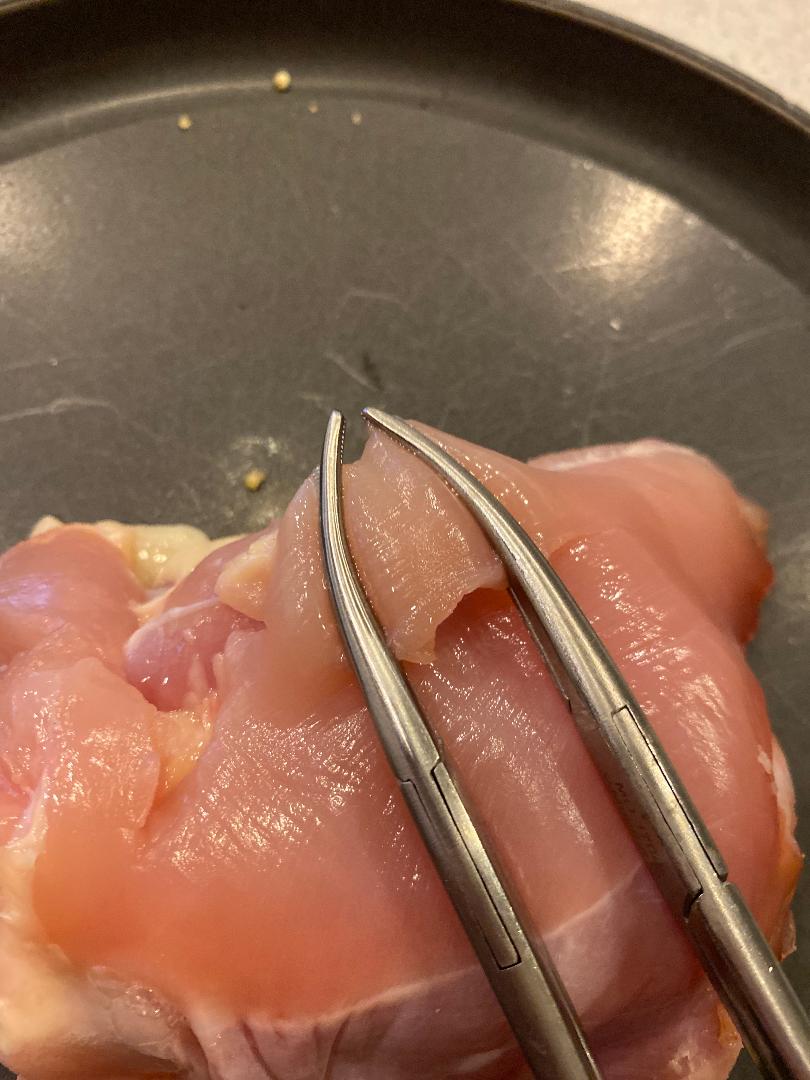
When the tips are facing each other, and the tissue is divided (L picture), then afterward both of the clamp tips are facing upward (R picture).
This is a big advantage because it makes it easy for the surgeon to pass the tie around the clamp and complete the ligature.
This is a big advantage because it makes it easy for the surgeon to pass the tie around the clamp and complete the ligature.
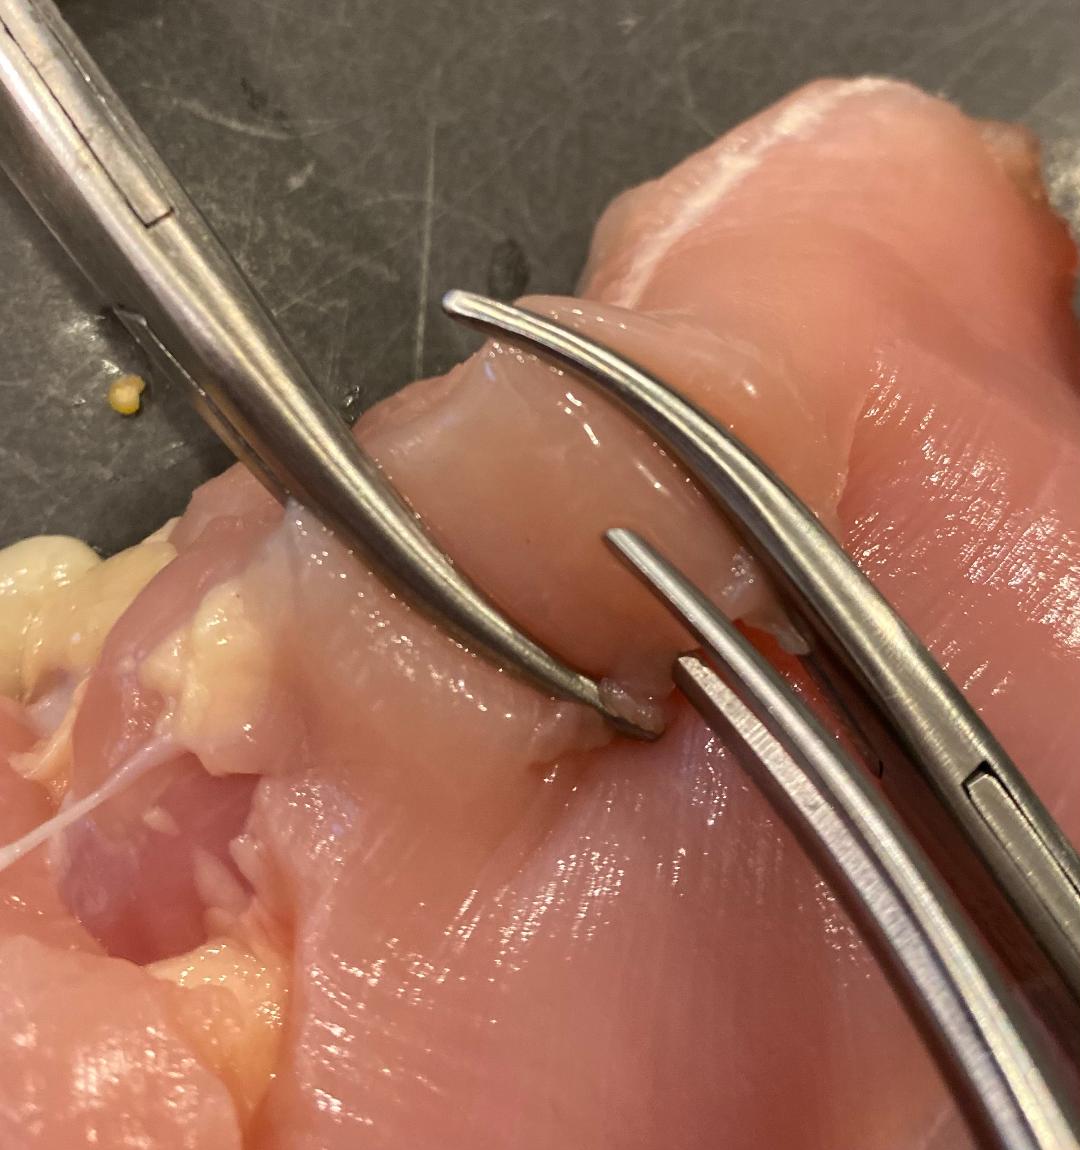
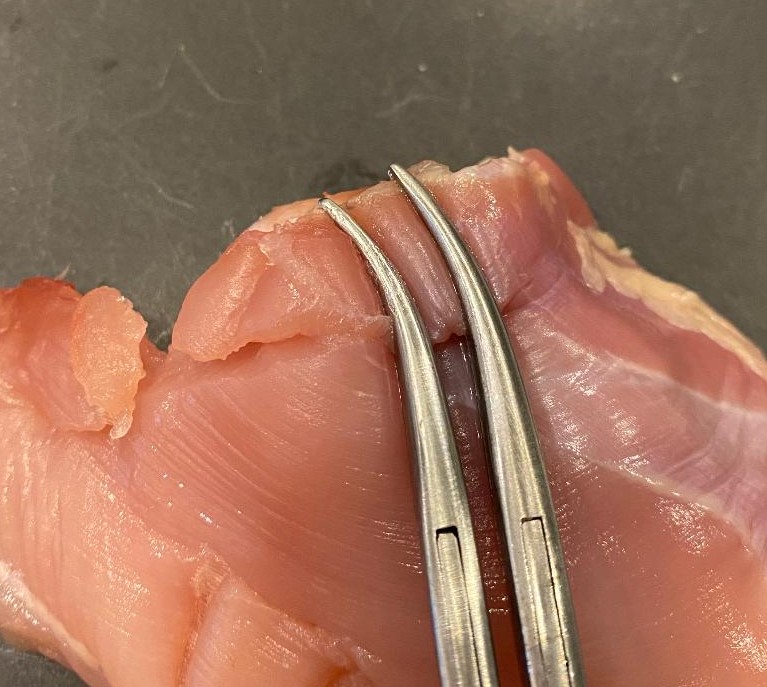
It's not always easy, or even possible, to have both clamp tips *always* facing each other, especially if they are being placed from the same side.
Here, you can see that the clamps are very close to the point where they would start interfering with each other.
Here, you can see that the clamps are very close to the point where they would start interfering with each other.
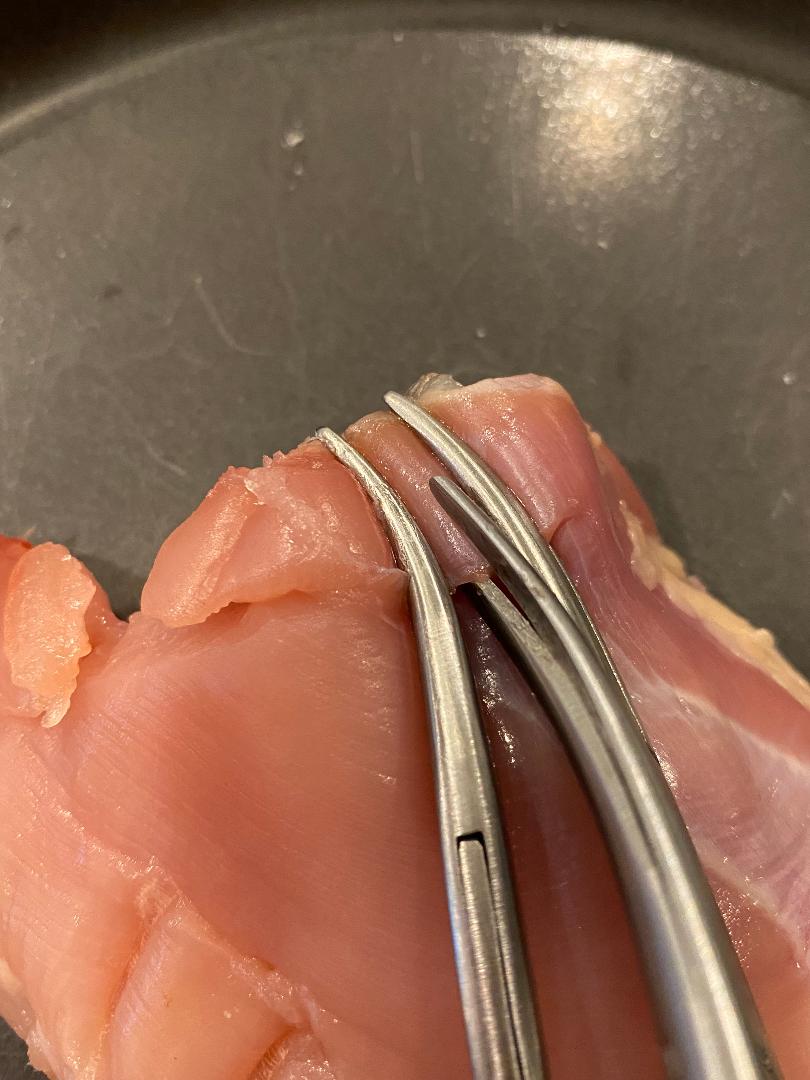
And so variety of reasons, sometimes this won't be possible. Usually this is because there isn't enough room to face the clamps toward each other.
In this case you have to have them face the same direction. A few people have called this 'nesting' of the clamps.
In this case you have to have them face the same direction. A few people have called this 'nesting' of the clamps.
The downside to 'nesting' the clamps is that after dividing the tissue, one of the 2 clamps will have the tips facing *downward*.
It's harder to get the suture around. Is it undoable? No, it's not. But it's a little harder, and why make things harder?
It's harder to get the suture around. Is it undoable? No, it's not. But it's a little harder, and why make things harder?
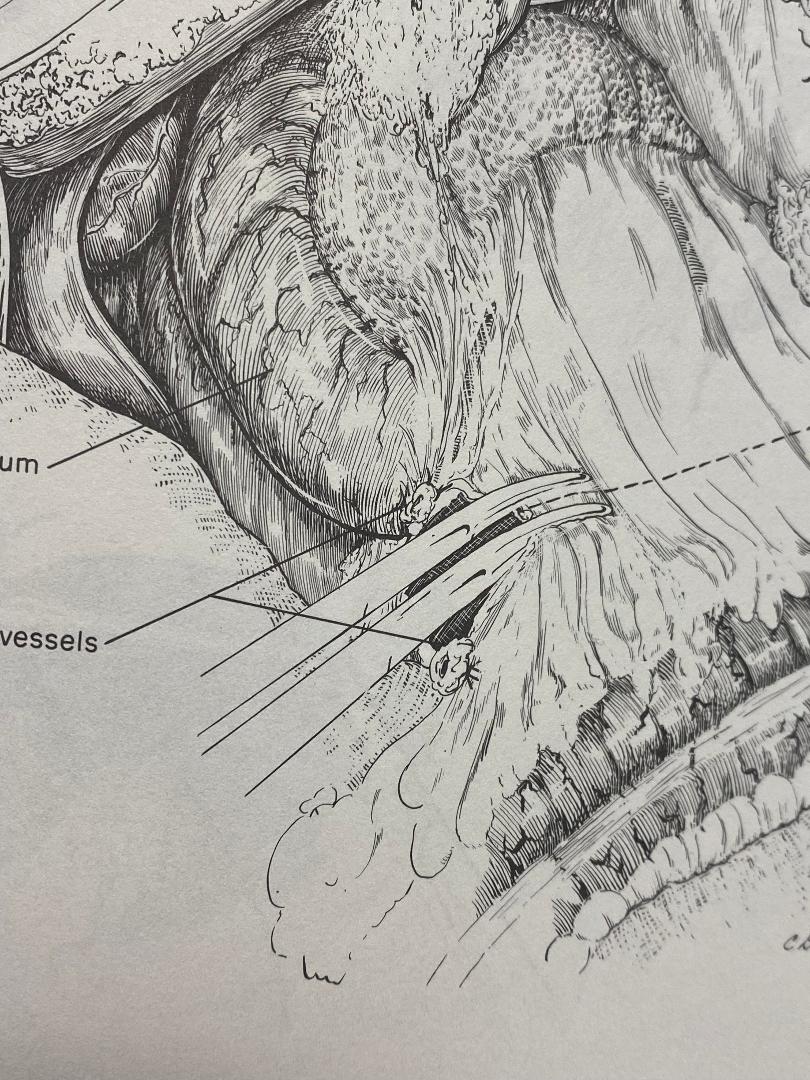
Here's an example of 'nesting' from a textbook.
In this case the window of dissection is narrow enough that if the tips were facing each other, there wouldn't be enough room. So after dividing, one of the ties will be harder, and the other will be of normal difficulty.
In this case the window of dissection is narrow enough that if the tips were facing each other, there wouldn't be enough room. So after dividing, one of the ties will be harder, and the other will be of normal difficulty.
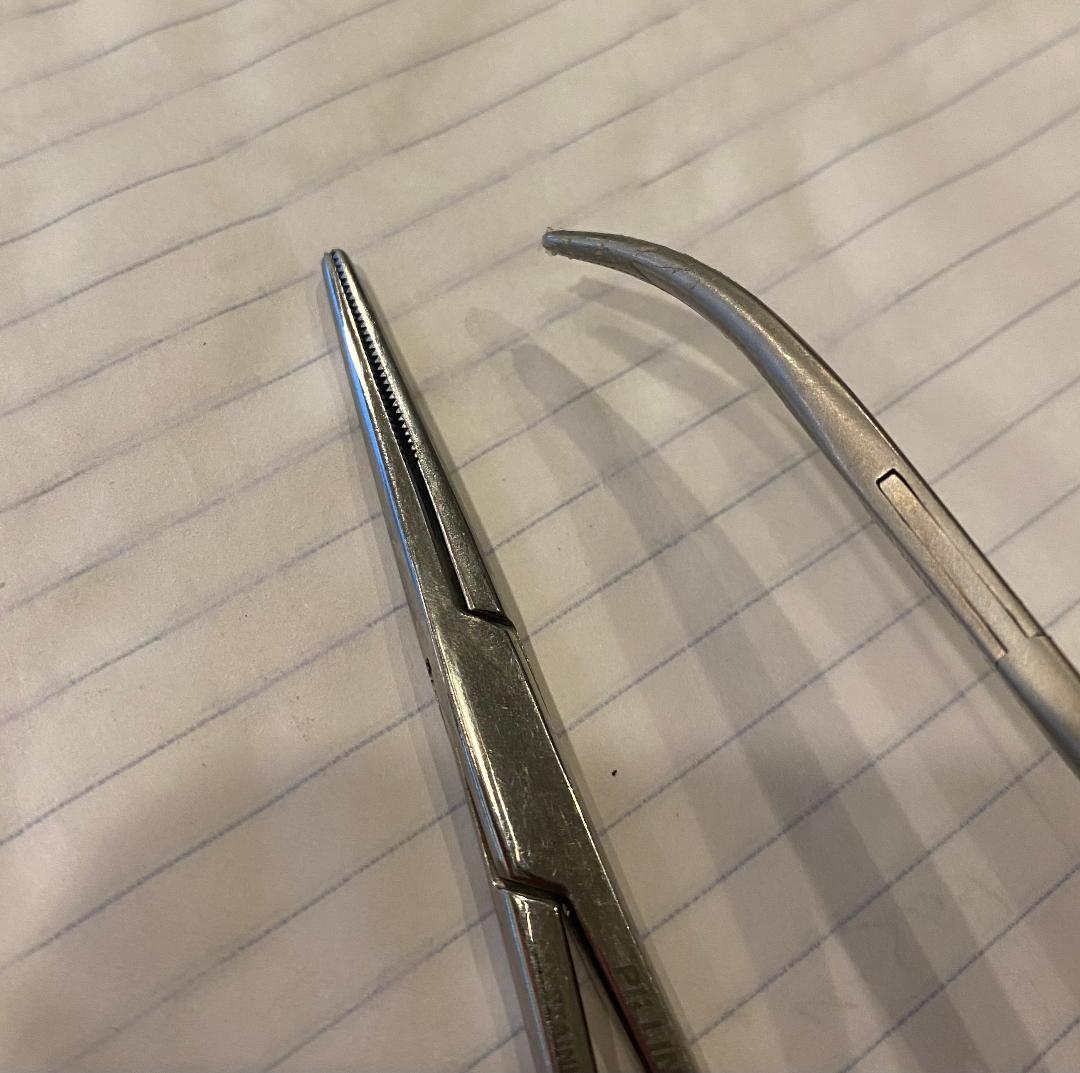
Now you might ask yourself: why not just make it easy and use straight clamps?
The answer is complex, but generally speaking, straight instruments are awkward and difficult to use. Practically all dissecting instruments, such and clamps and scissors, have a curvature to them.
The answer is complex, but generally speaking, straight instruments are awkward and difficult to use. Practically all dissecting instruments, such and clamps and scissors, have a curvature to them.
Finally, here is a link to a video from a few years ago from the UCSF Skills Lab that illustrates these concepts and more.
It's also where I learned the word 'nesting' to describe the clamp tips facing each other.
⬛️
youtube.com
It's also where I learned the word 'nesting' to describe the clamp tips facing each other.
⬛️
youtube.com
Loading suggestions...