

🚨 Generative AI Tutorial 🚨
➡️ Create animations using the Zoom Out feature from #midjourney
As promised: a lot of people were waiting for me to publish the tutorial on how I made this animation. It took me MUCH more time to explain it than to make it 😂
🧵 Thread
➡️ Create animations using the Zoom Out feature from #midjourney
As promised: a lot of people were waiting for me to publish the tutorial on how I made this animation. It took me MUCH more time to explain it than to make it 😂
🧵 Thread

Let's cut to the chase, no more stories!
1. First thing is to generate a series of images on Midjourney using their new "Zoom Out" tool. If you're not up to speed on this, I'll leave you another one of my tutorials here that you should complete first:
1. First thing is to generate a series of images on Midjourney using their new "Zoom Out" tool. If you're not up to speed on this, I'll leave you another one of my tutorials here that you should complete first:
In my case, for this video, I generated only three images. Although honestly, you can stitch as many as you want. For example, this other animation that I generated using the same steps from this tutorial is created from over 20 combined images:
🔥 Powerful stuff, right? 🔥
OK. Let's get back to the images.
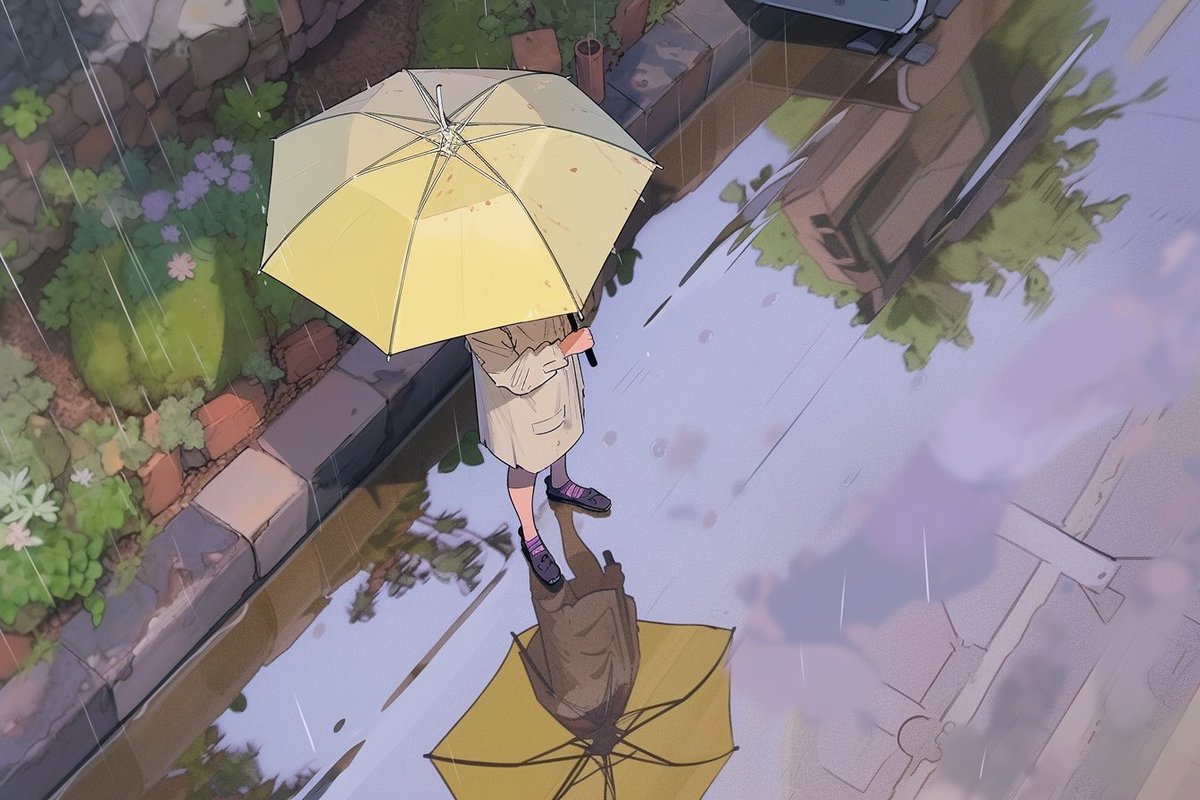
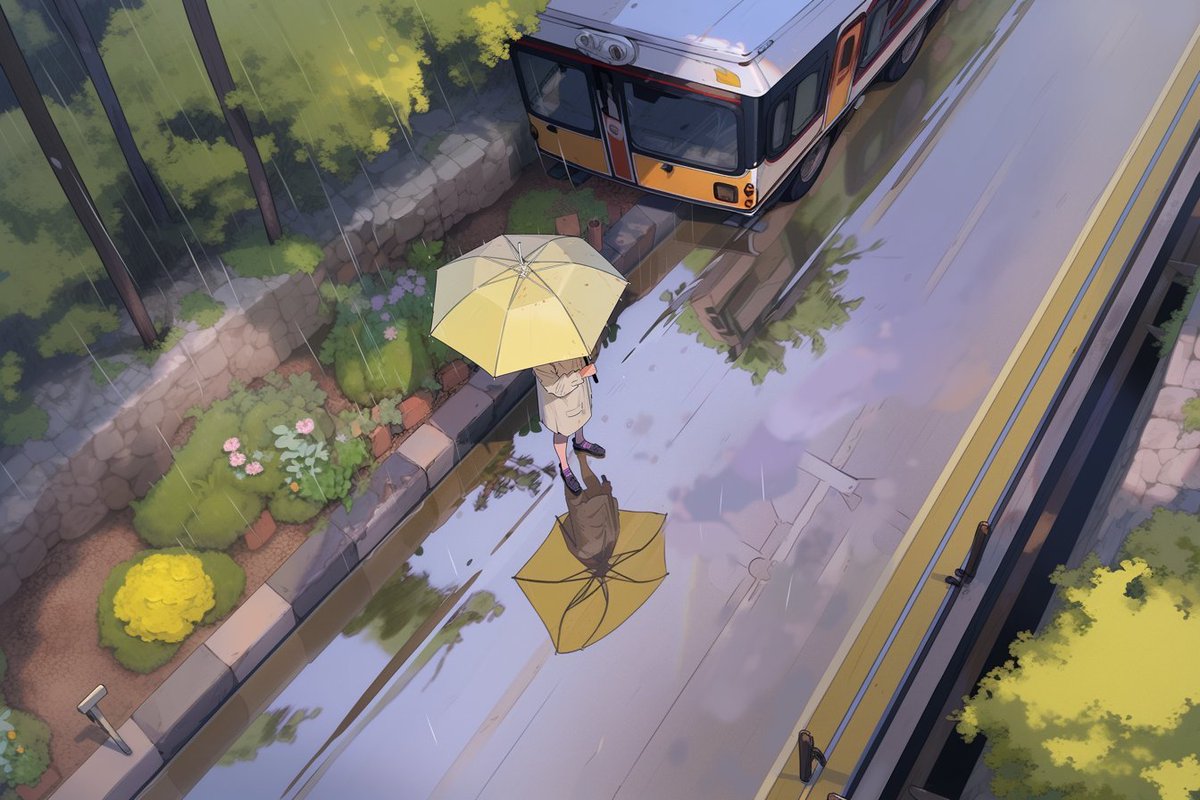
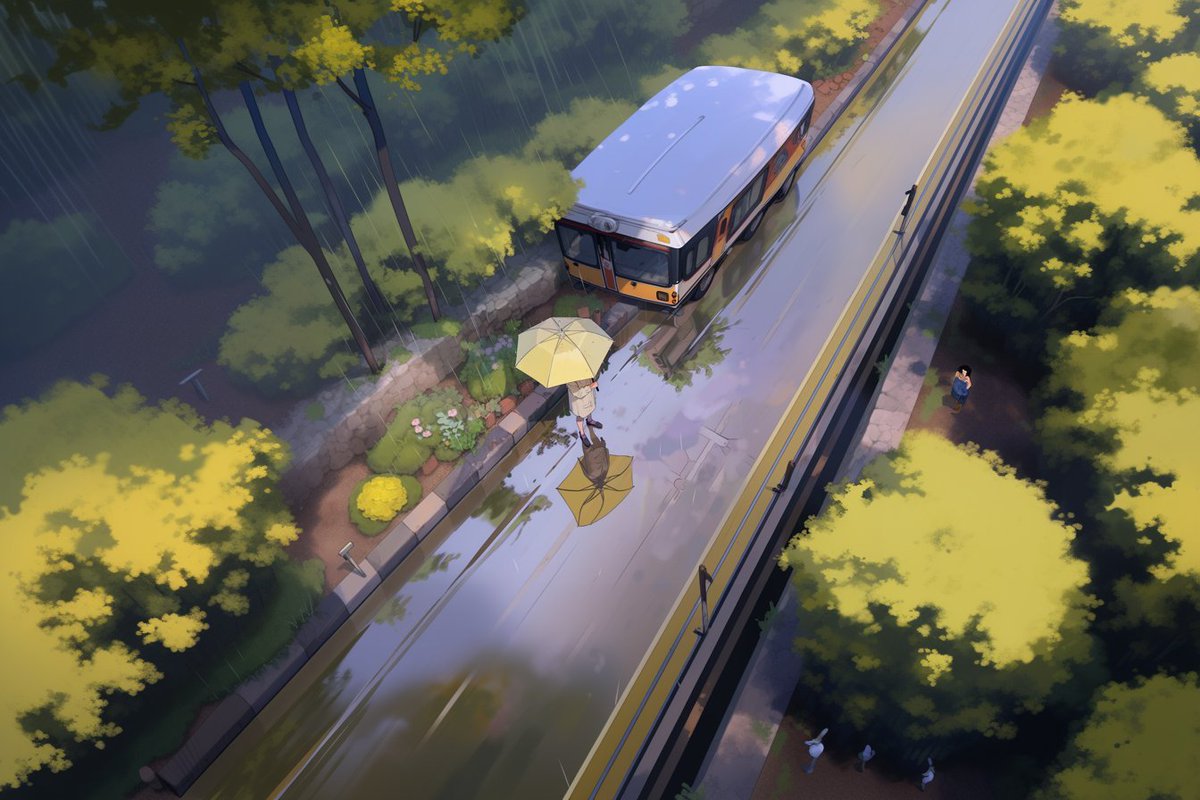
These are the three images I generated to put together the video doing a 2x Zoom Out between them.
You can see the prompt I used on Midjourney by clicking on ALT.
OK. Let's get back to the images.
These are the three images I generated to put together the video doing a 2x Zoom Out between them.
You can see the prompt I used on Midjourney by clicking on ALT.
3. Once you have your images generated, you will need to merge them into an animation that makes a constant zoom, with a simple interpolation between the images.
To do this, download the CapCut video editor on your computer or mobile:
capcut.com
To do this, download the CapCut video editor on your computer or mobile:
capcut.com

4. From CapCut, create a new project, import the three images, and add them to a track.

5. Now comes the magic. Once you understand it, it's super simple: you must animate each image by adding a "keyframe" of Scaling at the beginning and end. The trick is to start at 200% so that it matches the end of the previous image! Super simple!

Loading suggestions...